Application Insights Deep Dive Part 1 - Getting Started
Application Insights Deep Dive Part 2 - Building A Demo Server
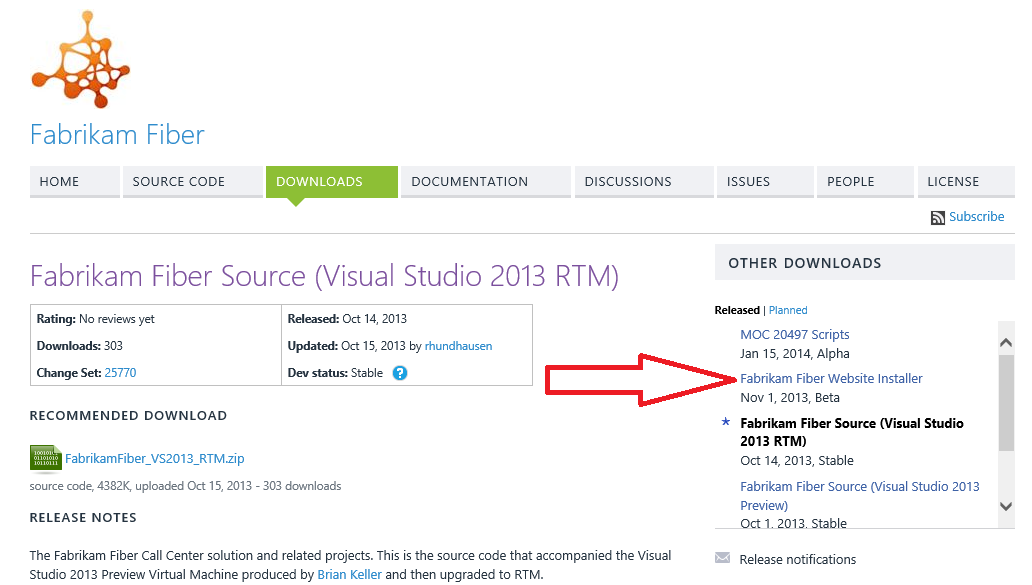
Application Insights Deep Dive Part 3 - Deploying A Demo Web Application
Over the previous three posts in this series we've created a Visual Studio Online account, deployed a new demo virtual machine in Windows Azure and installed a demo .NET web application called Fabrikam Fiber into the environment. We're now ready to get started with enabling Application Insights to look inside our application and in this post I'll focus on two ways to monitor availability - using the Microsoft Monitoring Agent (MMA) or by instrumenting the application using some additional JavaScript code.
Deploying the Microsoft Monitoring Agent
If your web application is running on a Windows Server computer, then you can download and install an agent (the MMA) to the server to get some deep level information about your application back into Application Insights for analysis.
Follow these steps to get the agent deployed:
Logon to your demo web application server using an account with administrative permissions, then open a web browser and sign in to Visual Studio Online using the Microsoft account you configured in Part 1.
Click on the blue Application Insights tile, then click the 'Add application' menu from the top navigation bar as shown below.

Right-click the downloaded agent file and choose Run As Administrator to begin.

Click through the first few options in the wizard accepting the default settings until you reach the 'Where do you want to connect the agent?' dialog box as shown below.

Check the box beside 'Application Insights for Visual Studio Online', then click Next to continue.
Note: If you have an existing SCOM environment and wanted to connect up this agent to it at a later stage, then you would need to choose the 'System Center Operations Manager' option here and then specify the management group info for the agent in the same way as you would work with a normal and manually installed SCOM agent in the past.
At the next dialog box, enter your unique Account ID and Instrumentation Key that you obtained from the 'Add Application' menu in the Application Insights console. When you have both values entered, hit the Validate Connection button and you should see a successful connection similar to the one in the following screenshot. Click Next to move on once the test works as it should do.

At the next dialog box, choose whether or not to use Microsoft Update to check for updates to the agent, then click Next.
Hit the Install button from the 'Ready to Install' dialog box to begin the installation and once complete, push the Finish button to close out the process.

You should now see a command window open up stating that it's 'Configuring Application Insights'. Leave this window open for a few minutes and it will report back that it has successfully started monitoring your web applications. When it's done, press any key to close the window.

Note: If you get prompted at this point to restart your computer, then DON'T!
Wait until this configuration phase has completed and then you can do a restart. I had an issue on one server that I ran this on and when I choose the option to restart my server, the configuration hadn't fully completed and I ended up with no application monitoring until I removed and reinstalled the agent again.
It'll take approx. 10 or 20 minutes for your web applications and Application Insights to start talking fully and in the meantime, on your demo web server, you can open up the Monitoring Agent PowerShell Prompt as shown in this graphic.

When you open this, you will be presented with 5 different commands that allow you to manage how the agent works with your web applications (typically - Set, Start, Checkpoint, Stop & Get cmdlets). To confirm that our applications are indeed communicating with Application Insights, we can type 'Get-WebApplicationMonitoringStatus' into the PowerShell prompt and it should report back to us that they have an output channel of 'Cloud' as shown here:

If this is the first time you have deployed Application Insights, then at this point if you refresh the console, you should see the options at the top of the main menu change and you will be able to see new menus for Availability, Performance, Usage and Diagnostics.
In the Application Insights console, click on 'Overview' then choose 'Servers' and you should see your newly deployed agent lighting up Green indicating that everything is going smoothly.

Note: If you see your agent in this screen but it still hasn't lit up green, then you might need to restart the computer or even reinstall the agent (see my other note above).
Now click on the 'Applications' menu and you should see a list of all the applications that are configured for monitoring with Application Insights - including your newly added one (Fabrikam in our case here).

For the moment, it's likely that there won't be any data values registered beside your application name because we haven't generated any traffic through it yet. That'll change soon though!
Instrumenting Your Application
As an alternative to installing the Microsoft Monitoring Agent onto the server that hosts your web application, you can add some JavaScript code to it by following this process:
Open the Application Insights console, browse to the 'Add Application' view and from Step 1, hit the 'Click here' link as shown in the following graphic.

Click the No button when asked 'Would you like to collect data from a server component?', and then choose the type of application you have (we'll use the Web Site button) here.

Now click the 'Click here to show instructions' link.
At this point, you will be presented with a number of steps and first thing you need to do is to give a name to your application, then hit the Create button.
Once the application is created, you will see a code snippet in Step 4 and some instructions telling you where to place the code in your application.

Copy the code snippet and insert it into your application as instructed (immediately before the closing </head> tag and before any script) and in approx. 30 minutes, you should see your application lighting up in the console.
Configuring Availability Monitors
Now that we have our web application available to be monitored inside Application Insights, we can start work on configuring synthetic transaction monitors (sound familiar SCOM users?).
Here's what you need to do:
Logon to the Application Insights console, click the 'Availability' view, then select the name of your web application from the drop-down menu beside 'Set Up Availability' as shown below.

Choose the 'Click here' option at the bottom of the page to dismiss the configuration page and open up the 'Synthetic Monitors' section for your application. Click on the green Plus symbol and choose 'New Single URL Test' from the resulting menu.

Now, if you've used SCOM 2012 with Global Service Monitor (GSM) in the past, then the 'New Synthetic Monitor' screen will be very familiar to you.

Give the monitor a name, enter your web application's external URL (including the relevant port number), choose some country locations to run the monitor from (I'm disappointed that Dublin isn't on this list yet!), and then check the 'Alert if' box to ensure that an alert is generated in the console if any of the locations fails to access your application.
Click OK to create the monitor then wait a short while for data to start showing up. Ideally, the longer you leave this the better, as it will build out availability charts based on the last 24 hours worth of data.
Note: You can monitor any publicly available website using this method without having to deploy an agent or instrument the web application in the exact same way that you can create a new 'Web Application Monitoring' test in SCOM 2012 R2. This is useful in scenarios where you need to bring a corporate externally hosted website that isn't under your direct management control into your monitoring environment.
The graphic below shows an example of the overall availability and response time of your web application.

This one shows specific availability communication points from your Single URL Test that was configured earlier (green dots are good!)

If you want to test this out to see some availability errors, then either stop the virtual website on your demo web application VM in IIS for a short while, or simply just power down the VM. Pretty soon you'll see some errors coming up as shown here:

That's it for Part 4 of this series and you should now be able to monitor your applications and external websites for availability using Application Insights. In Part 5 we'll dive into monitoring the performance of your applications.